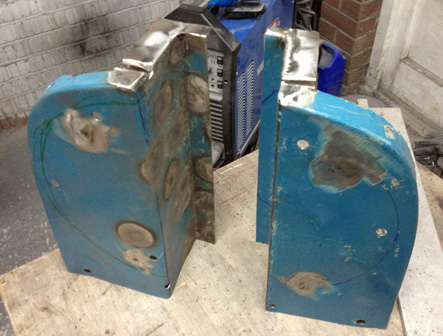
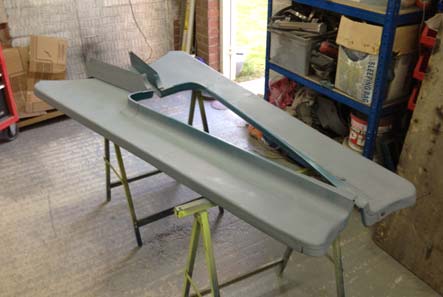
Haven’t updated the site for ages, but I’ve still been working away on the truck as often as I can. The running boards I got with the truck were completely rotten so I plasma’d the tops off them, screwed them to the workbench (well the kitchen worktop on two trestles that doubles as a workbench!) and cut new tops out of sheet metal. They were a good lesson on not welding too much at once or you’ll warp it… Which I did. So after cutting it back out and straightening it I took a bit more care. I also made new supports for them as the originals hang below the boards at the back, and they’ll just hit stuff. With some hidden fixings added I gave them a quick coat of primer to keep the rust at bay for a bit and put them on the "to do" pile.
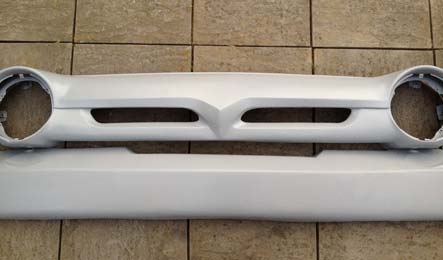
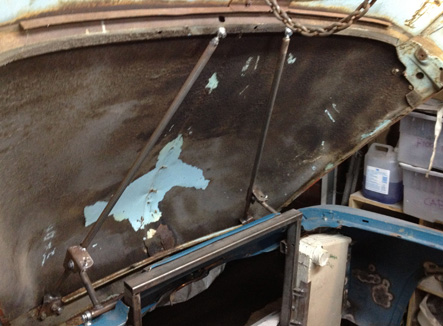
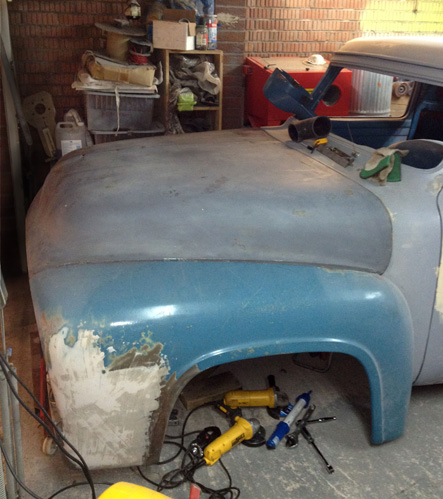
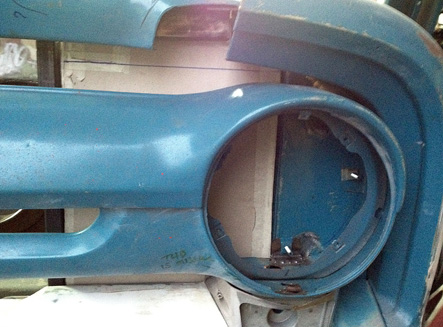
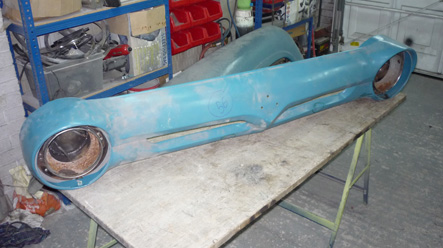
I was also concerned about the nose and the gravel pan, as they both had been worked on and were starting to rust. The nose was dented and twisted all over, and had some bad pitting where the emblem sat, and as I didn’t want the emblem on there anyway, I cut it out, shaped it flat and made a new piece.
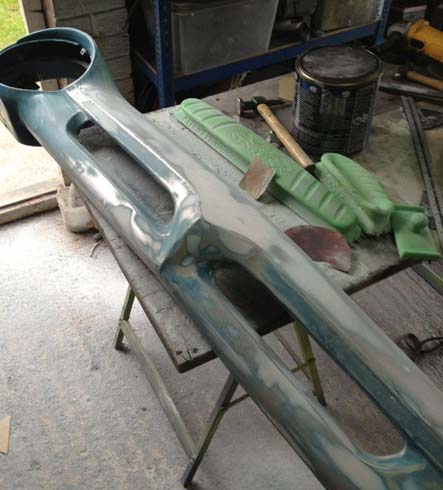
Doesn’t sound like much when you say it quickly, but it took hours to get them straight. A quick coat of primer to seal them up, and they too went on the to do pile.